Instructions
Please Note
Do not, under any circumstances, edit the Custom Fields section.

Any modifications made to this area could result in major loss of content and should not be attempted by anyone other than an authorized web developer.
Resources
Adding a new Resource
Step 1
Select Resources > Add New
Step 2
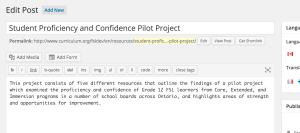
Enter the Resource Title in the Title field, and Description in the main content field.
Step 3
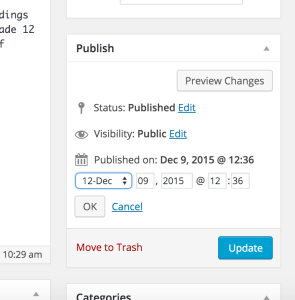
Dates: The resource will automatically set the Published Date to the date that you publish the Resource on the website. You can edit this by editing the Published on: field in the Publish module (top right).
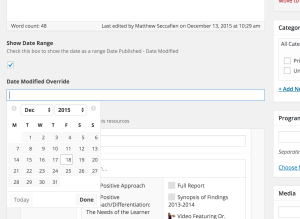
If you would like the resource to display a range instead you can check the Show Date Range box underneath the main content window which will toggle a date field where you can enter the Modified date value. The range will then show as: Published Date – Modified Date
Step 4
Give the project the appropriate tags, Role, Program, Grade, Media, Topic etc. To see tags that have already been created select "Choose from the most used..." then click one or more of the links that appear.

Step 5
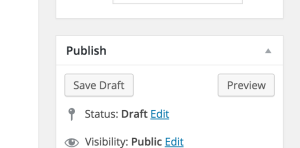
At this point you should Save what you have entered so far and switch over to the Components section to add the Components of this Resource. Click Save Draft
 >
>
Then, from the main Wordpress menu select Components > Add New (scroll down to Components section of this page to learn more about how to add components)
Step 6
Once you've added the Components we can come back to the Resource and create the Component Groups.
The Component groups will form the Tabbed sections of a Resource page. If there is more than one Component Group in the resource you should give them each a title. Component Groups can have 1 or 2 levels and a maximum of 4 tabs per level. Then choose the Components for each tab by searching and/or clicking from the Component post list. If you're not sure how this should all look, check out a pre-existing Resource post that has the same structure and replicate that. This will set the order and organization of components on the parent Resource page.

Step 7
Now, we need to make sure that the components are in the correct order for the Next/Previous links to make sense. Scroll down to the Connected Components module. Drag and drop the components into the correct order by grabbing the right side of the link, start the first component at the top and work down from there.

Step 8
Add a Viewer's Guide file, if one exists, by clicking the Add File button. If you'd like to override the default Download PDF Viewer's Guide button text, then enter a custom text in the field below.

Step 9
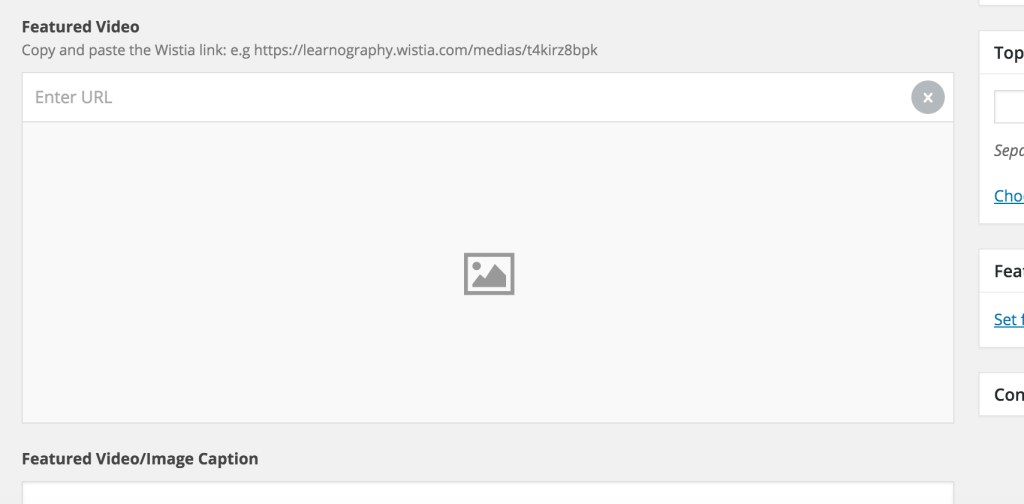
If there's a Featured Video, like for the On Est Capable! Resource, then copy and paste the Wistia url for the video in the Featured Video field.
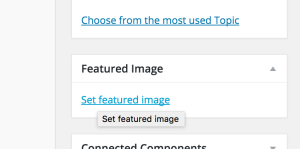
Otherwise, add a Featured Image in the Featured Image module by clicking Set Featured Image and uploading an image file. Try to ensure that the image is at least 800px x 600px and .jpg or .png format.
Step 10
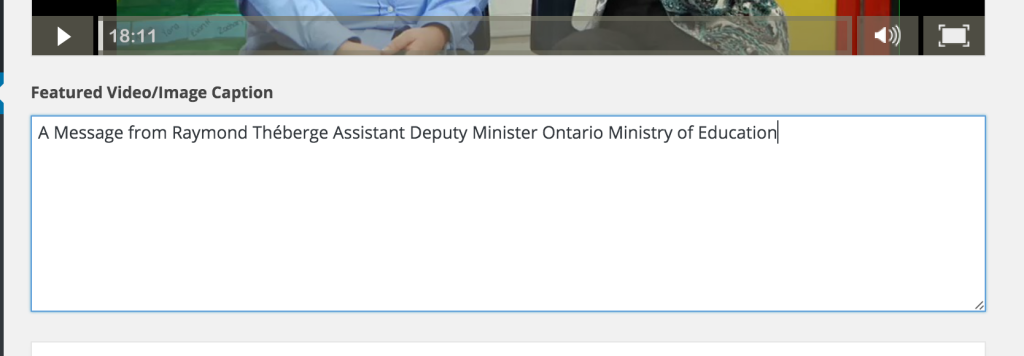
If there's a caption to appear underneath the Featured image or Video then enter that in the Featured Video/Image Caption field below.
Step 11
The Excerpt field will only be used if the Resource is chosen to be Featured on the homepage. So you can enter a summary description of the Resource now, or at a later date. An optimal length for an excerpt is 30-40 words.

Step 12
You will then need to add the French version for the Resource and Components (scroll down to the Languages section on this page).
Step 13
That's it, you're ready to Publish! Once you click Publish, the Resource will appear live on the website. You can always Un-publish at any time by changing the Published status back to Draft.

Components
Adding a new Component
Step 1
Select Components > Add New
Step 2
Enter the Component title
Step 3
Select the Component Type. This will reveal different fields below.

Step 4
Enter the appropriate content for the Type you've selected. For example, if you've selected Video, copy and paste the Wistia video url into the field.

Step 5
Add a description in the main content field (optional).
Step 6
Create a connection to the Parent Resource by clicking the Create connections link (Top right) and then selecting the name of the Parent Resource from the list that appears. You can also search for the name if you know it. This connection will help the website locate the component within the resource and will also help you in future edits.

Step 7
If you want to override the default Featured Image pulled from Wistia you can upload an image to the Featured Image module by clicking Set Featured Image and uploading an image file. Try to ensure that the image is at least 800px x 600px and .jpg or .png format.

Step 8
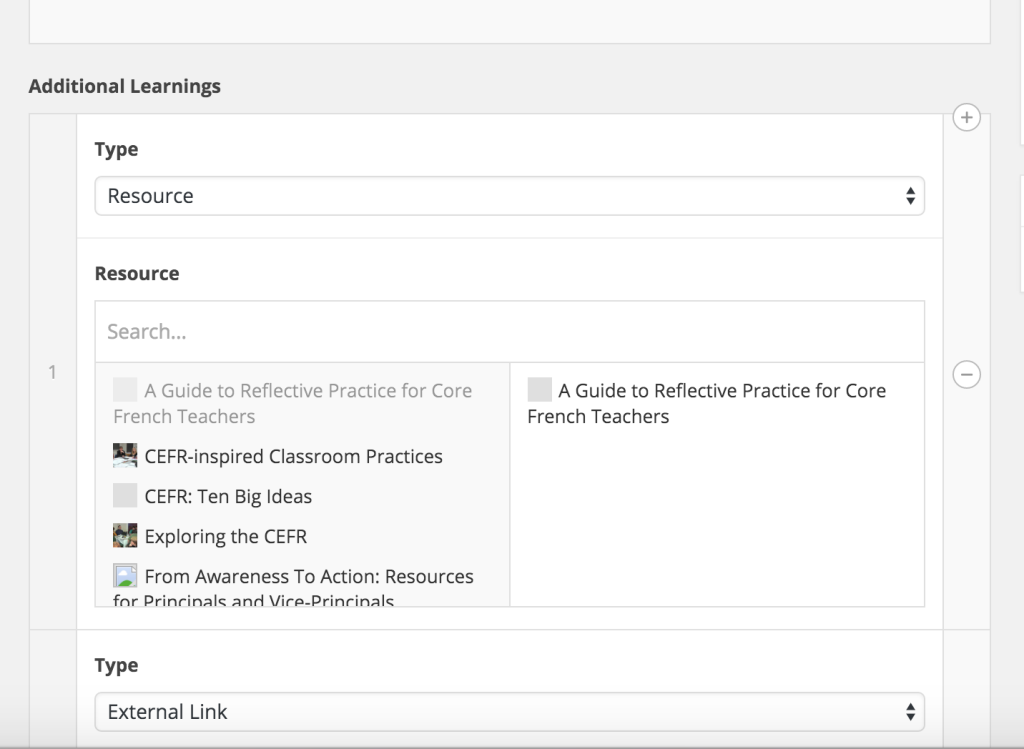
Add the Additional Learnings that you'd like to appear underneath, after the main content on the Component's page. These can be other Resources or Components on the FSL website, or they can be external links on other websites.
Step 9
You will then need to add the French version for the Resource and Components (scroll down to the Languages section on this page).
Step 8
That's it, you're ready to Publish! The Component will not appear on the website until you've added it to the parent Resource post and published that Resource.

Languages
Resources & Components
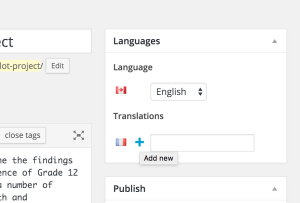
Each English post (Resources and Components) has a French counterpart that will display when the user switches the language to French.
Create the English Resource first then click the plus "+" link next to the French flag in the Languages module to create the French version.
Follow the same steps to create the French Components.
Language Strings
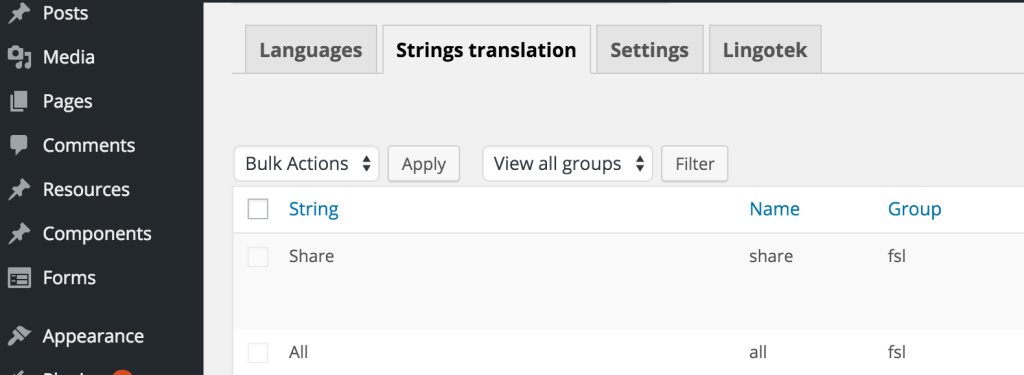
All other text on the site is managed in strings of text within the theme files. You can edit the translations for these strings by going to Settings > Languages and selecting the Strings Translation tab
Homepage
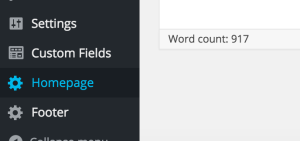
In this section you can control the items that appear on the homepage. The Quick Links, Tagline and the Featured Resources.
Featured Resources
You can add as many Featured Resources to the homepage as you like by clicking the Add Resource button. Remove a Featured resource by hovering over the right side of the row and clicking the minus "-" button.

Make sure that each of the Resources you've chosen to feature have content in their Excerpt field. This will be the description that appears for each Featured resource on the homepage. To add an excerpt Edit the Resource and scroll down to the very bottom of the post. An optimal length for an excerpt is 30-40 words. Don't forget to click Update in the Resource you're editing to save your changes

Quick Links
This section controls the text and links for the 3 Quick Link buttons on the homepage.

There are English and French versions of each.

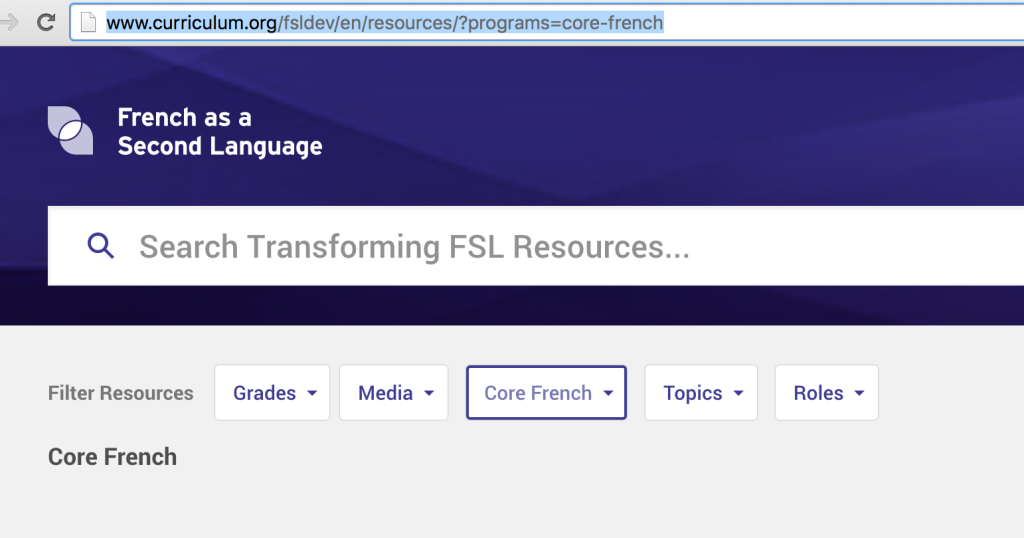
To get the correct URL for the Link field, navigate to that section on the front-end of the website. For example, if you want to send the user to all Core French Resources go to the Resources page, click the Programs filter and select Core French. Then copy the link at the top of your browser Ctrl+C and paste that link into the Link field of the corresponding Quick Link.
Tagline
This field controls the text that appears under the "Transforming FSL" site title.

Footer
This controls the information that appears in the footer. Currently that only pertains to the credit text.

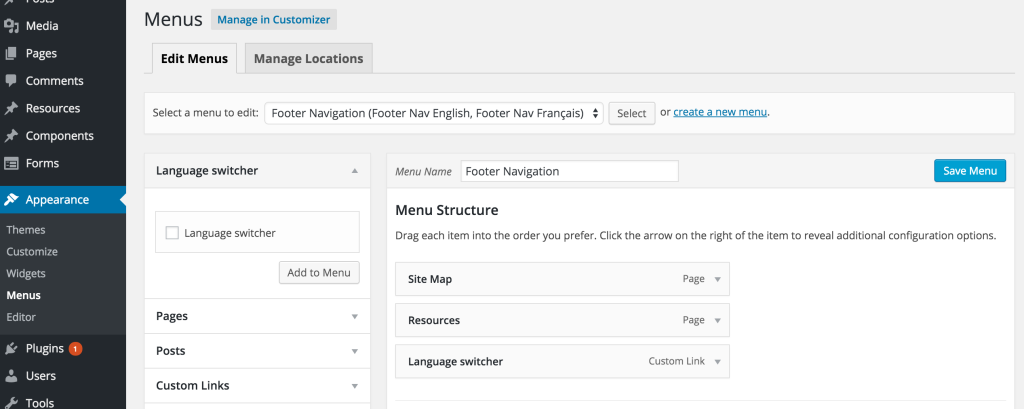
To Edit the footer links go to Appearance > Menus and select the Footer Navigation menu
Contact Form
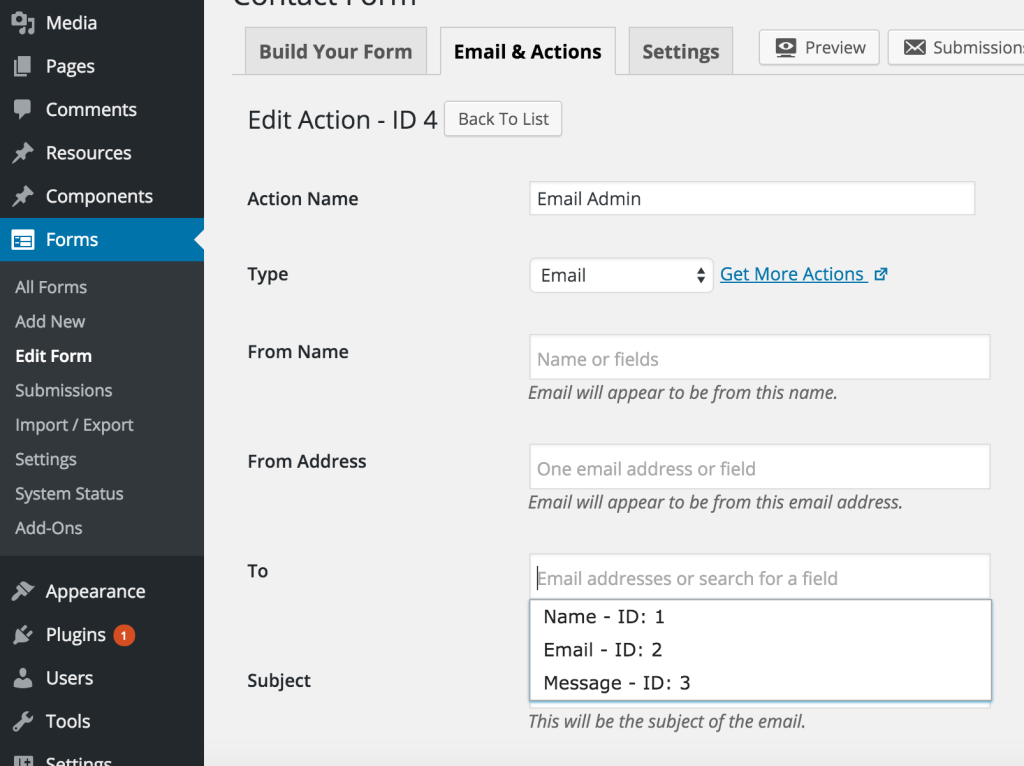
Here you can edit the fields and notification messages for your contact form, as well as review submissions
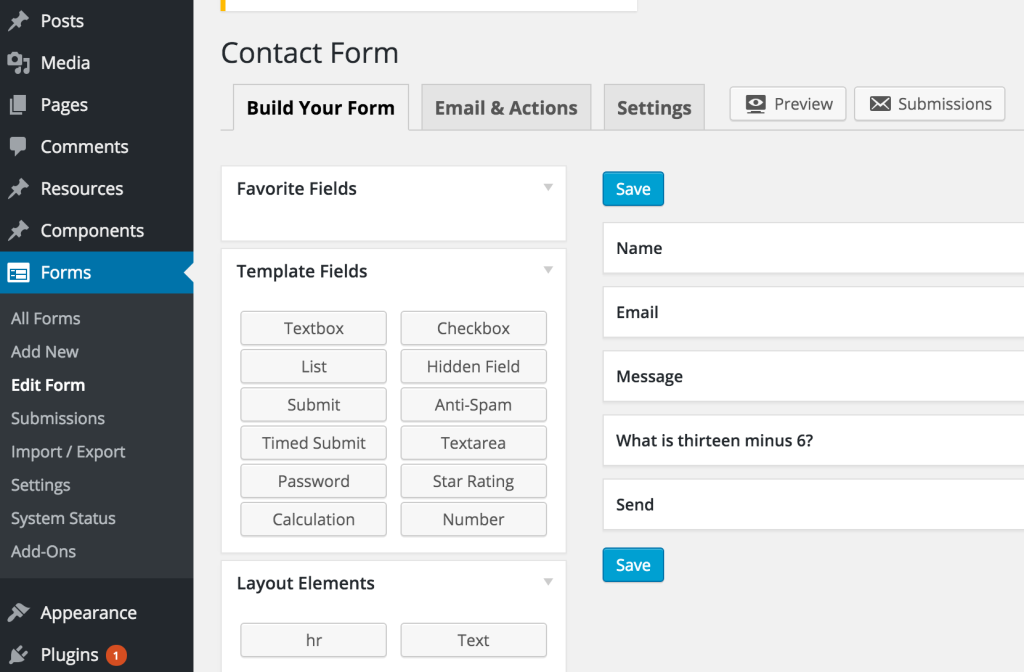
To Edit the email address that the form is sent to click the Email & Actions tab and either edit the existing action or add a new one. Add the new email address to the "To" field.
